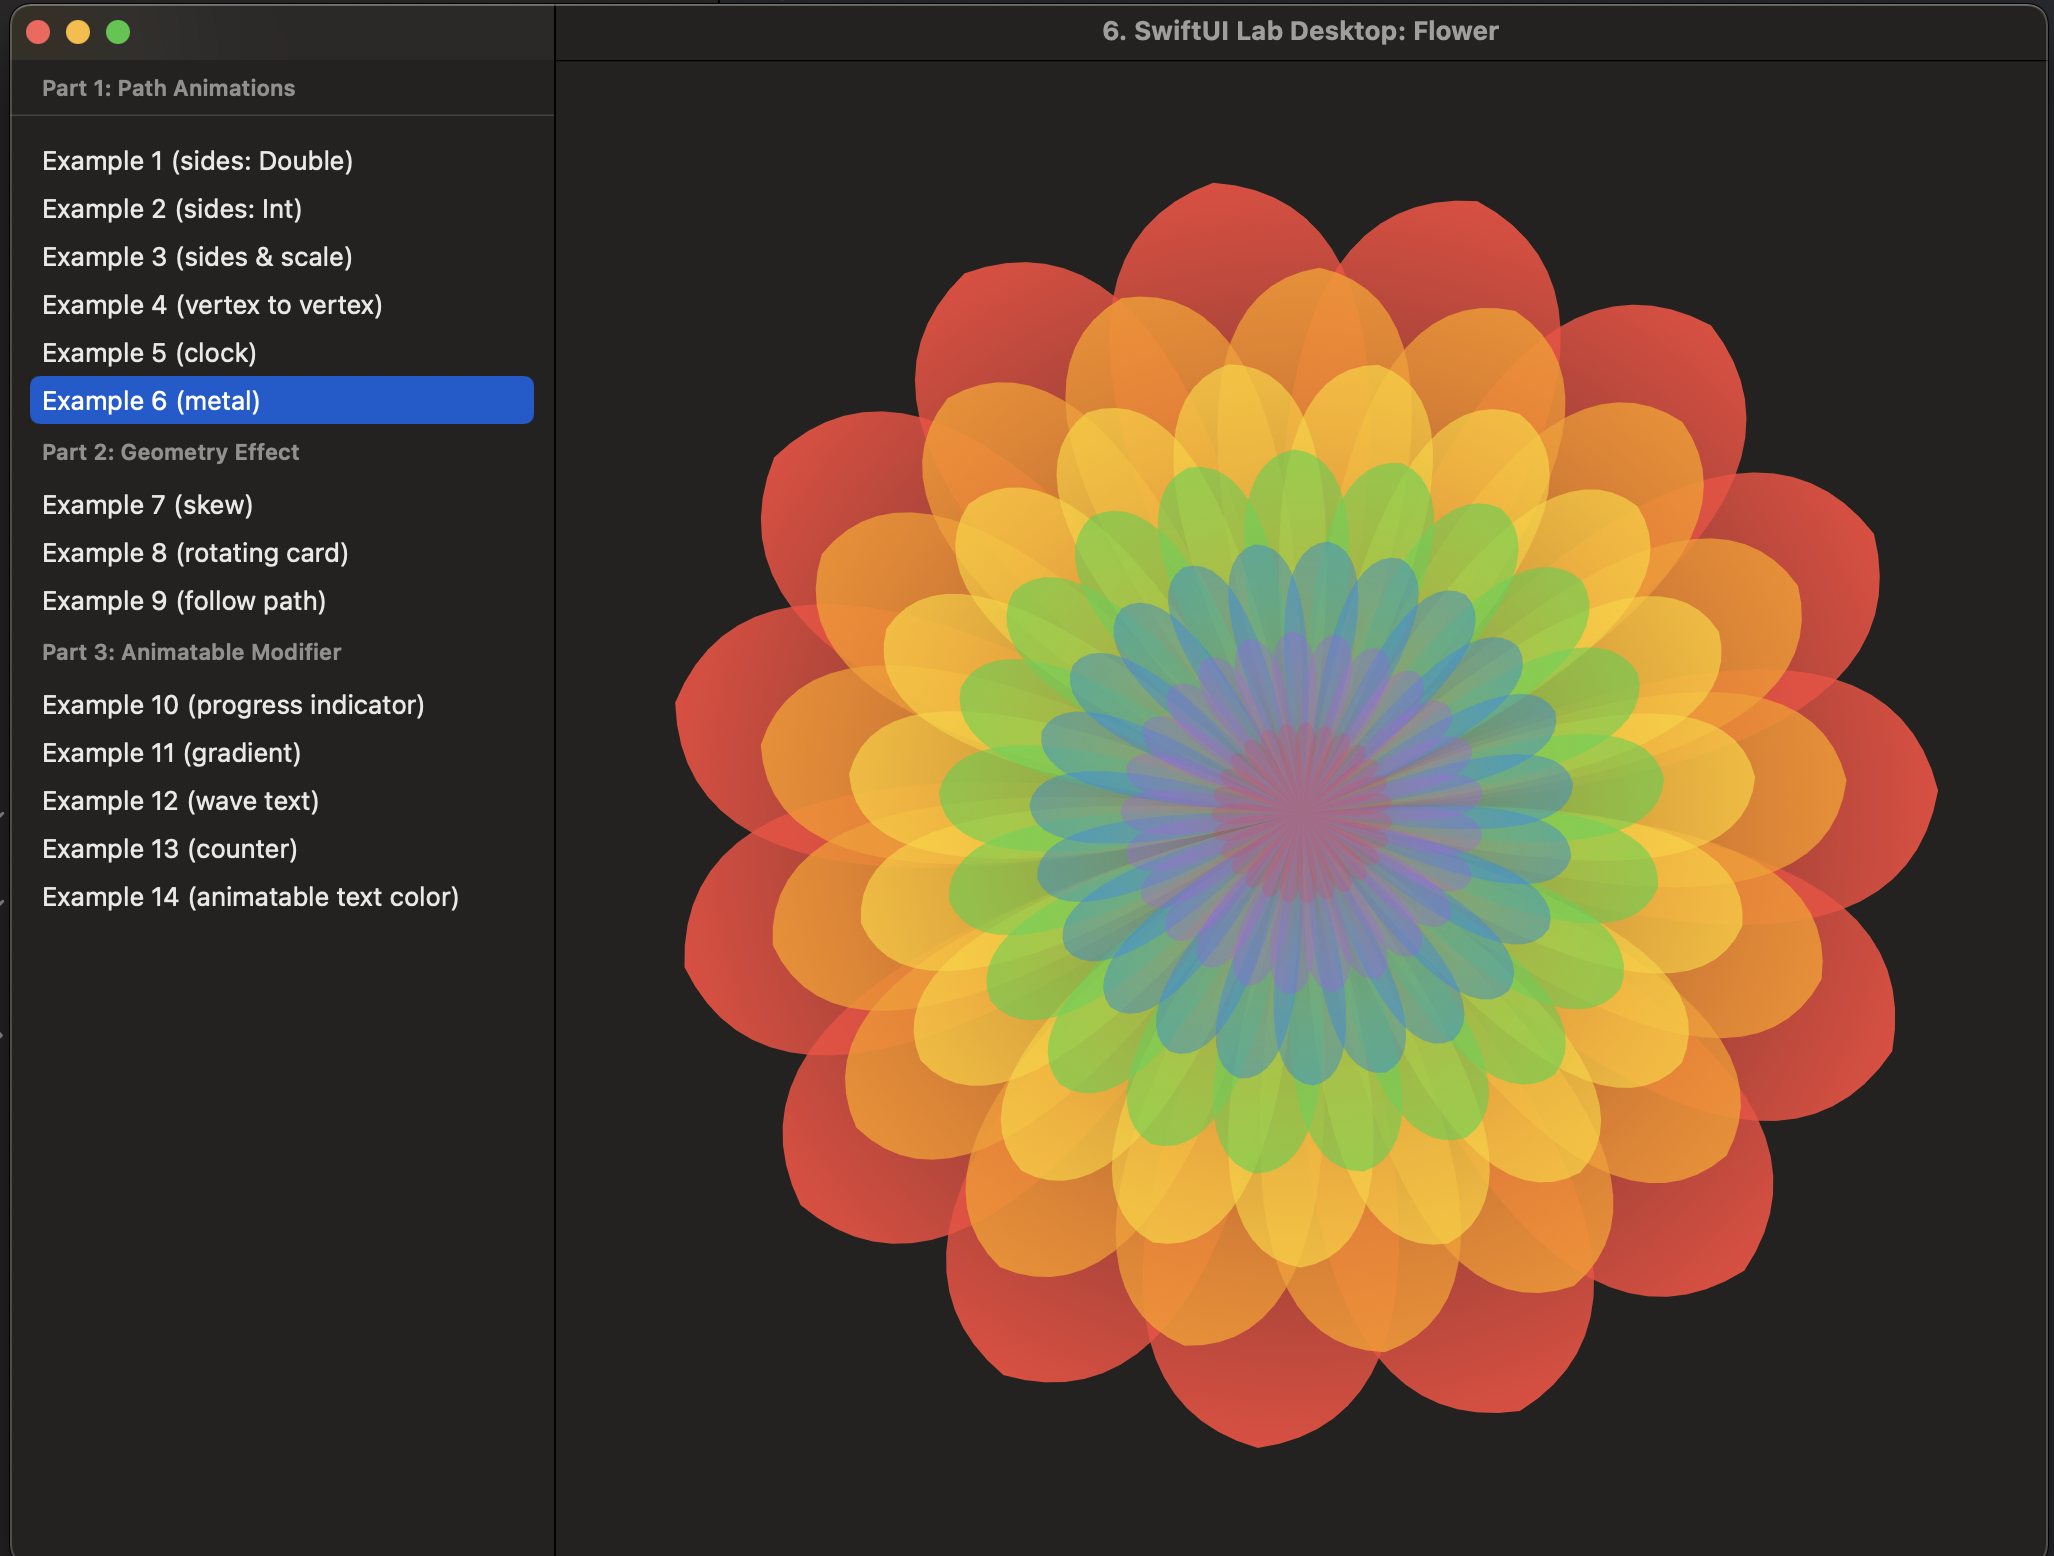
Bringing Advanced SwiftUI Animations to macOS
When I first discovered SwiftUILab’s Advanced Animations, I was impressed by the beautiful animations and transitions it demonstrated. However, I noticed that these examples were primarily focused on iOS, leaving macOS developers without a clear path to implement similar effects. This inspired me to create SwiftUILab_AdvancedAnimations, a port of these animations that works seamlessly on both iOS and macOS.
The Challenge
SwiftUI’s animation system is powerful but can behave differently across platforms. While iOS and macOS share the same SwiftUI framework, there are subtle differences in how animations are handled, especially when dealing with:
- Gesture recognizers
- View transitions
- Animation timing
- Platform-specific UI elements
My goal was to create a unified codebase that would work flawlessly on both platforms while maintaining the original animations’ elegance and performance.
Project Structure
I organized the project to make it easy to understand and extend:
SwiftUILab_AA/
├── Examples/
│   ├── Animation1/
│   ├── Animation2/
│   └── ...
├── Shared/
│   ├── Views/
│   ├── Models/
│   └── Extensions/
└── App/
    ├── iOS/
    └── macOS/
Each animation example has its own folder, making it easy to:
- Study individual animations in isolation
- Copy and paste specific animations into other projects
- Modify and experiment with different parameters
Key Features
1. Cross-Platform Compatibility
The project uses SwiftUI’s platform-agnostic features while handling platform-specific requirements:
#if os(iOS)
    // iOS-specific code
#elseif os(macOS)
    // macOS-specific code
#endif
2. Reusable Components
I created a set of reusable components that work on both platforms:
struct AnimatedButton: View {
    @State private var isPressed = false

    var body: some View {
        Button(action: {}) {
            Text("Animate")
                .scaleEffect(isPressed ? 0.95 : 1.0)
                .animation(.spring(), value: isPressed)
        }
        .buttonStyle(PlainButtonStyle())
        .onHover { hovering in
            isPressed = hovering
        }
    }
}
3. Gesture Handling
The project includes platform-appropriate gesture handling:
struct DragGestureView: View {
    @State private var offset = CGSize.zero

    var body: some View {
        Rectangle()
            .fill(Color.blue)
            .frame(width: 100, height: 100)
            .offset(offset)
            .gesture(
                DragGesture()
                    .onChanged { value in
                        offset = value.translation
                    }
                    .onEnded { _ in
                        withAnimation(.spring()) {
                            offset = .zero
                        }
                    }
            )
    }
}
Example Animations
1. Morphing Shapes
One of the most impressive animations is the shape morphing effect:
struct MorphingShape: View {
    @State private var isMorphed = false

    var body: some View {
        Circle()
            .fill(Color.blue)
            .frame(width: 100, height: 100)
            .scaleEffect(isMorphed ? 1.5 : 1.0)
            .animation(.spring(response: 0.6, dampingFraction: 0.6), value: isMorphed)
            .onTapGesture {
                isMorphed.toggle()
            }
    }
}
2. Custom Transitions
The project includes several custom transitions that work on both platforms:
extension AnyTransition {
    static var customScale: AnyTransition {
        .scale(scale: 0.1)
        .combined(with: .opacity)
    }
}
Implementation Details
1. View Extensions
I created several extensions to make animations more reusable:
extension View {
    func animateOnHover() -> some View {
        self.modifier(HoverAnimationModifier())
    }
}
2. Animation Timing
Careful attention was paid to animation timing to ensure smooth performance:
struct TimingAnimation: View {
    @State private var isAnimating = false

    var body: some View {
        Circle()
            .fill(Color.red)
            .frame(width: 50, height: 50)
            .offset(y: isAnimating ? -100 : 0)
            .animation(
                .timingCurve(0.68, -0.6, 0.32, 1.6, duration: 1),
                value: isAnimating
            )
            .onAppear {
                isAnimating = true
            }
    }
}
Benefits for Developers
- Cross-Platform Learning: Developers can learn SwiftUI animations that work on both iOS and macOS
- Ready-to-Use Examples: Each animation is self-contained and can be easily copied into other projects
- Performance Optimized: Animations are optimized for smooth performance on both platforms
- Educational Resource: The project serves as a comprehensive guide to SwiftUI animations
Future Improvements
The project is actively maintained with several planned enhancements:
- Adding more complex animation examples
- Implementing accessibility features
- Creating a documentation site with interactive examples
- Adding support for visionOS
Conclusion
SwiftUILab_AdvancedAnimations bridges the gap between iOS and macOS animation development in SwiftUI. By providing a unified codebase and clear examples, it helps developers create beautiful, performant animations that work across Apple’s platforms.
Whether you’re building for iOS, macOS, or both, this project provides valuable insights into SwiftUI’s animation capabilities and best practices for cross-platform development.